Magnifying Comparators & Reticles
Typical Applications
Hundreds of uses in production, inspection, drafting, model-making and research.
In metals production, Finescale Magnifying Comparator checks radii, angles, chamfers, threads, small holes, lineal, radial and tangent dimensions, odd shapes.
Finescale checks gauges, templates, layouts, forms and sizes of punches, dies and shows exact amount of wear to be corrected on cutting edges of cutting tools.
At the inspection table, it establishes standards, and inspects for cracks or flaws, as well as fine precision dimensions.
Comparator Features
Extreme Accuracy produced through cameras which reproduce certified accurate scales on Reticles made of extremely tough, low expansion photographic film. Each Reticle is an original photograph.
Accuracy Cannot Get Out of Adjustment like projection comparators or measuring microscopes. The accuracy is permanently built into the Reticle and minor variations in the instrument do not affect it.
Can Be Positioned on Objects of Any Size. No depth-of-throat limitations with comparator.
Take it to the Work - Easily. You do not have to take the work to it as with larger tools making similar measurements. This results in important labor savings.
Many Reticle Patterns. Reticles for practically every use required in metalworking, measuring and comparing, as well as for other applications.
Only One Scale on a Reticle. Much easier to use because it is free from confusion of the user which results when many scales are crowded onto one Reticle.
Low Parallax. Reduces the spacing between work and scale to only .003" which prevents scratching yet practically eliminates parallax error.
Both Black-Line and White-Line Reticles. Supplying Reticles in pairs of the same pattern, one having black lines and one white lines, ensures contrast with the work being measured.
Needs No Special Light Source. Light is admitted through the transparent walls of the comparator to the object viewed. Any light adequate to inspect a part is adequate.
Also a High-Powered Magnifier. Without the Reticle, which is easily removed or interchanged, the Comparator becomes a high-powered magnifier, useful in many ways.
Pull-or-Twist Focusing. A unique construction that permits very quick focusing yet allows collapsing the instrument by a simple push when storing or carrying.
Quality Construction. Utilizes the best ground and polished glass lenses; the best plastics for the purpose regardless of cost; extra thick plastic for permanent rigidity; Reticles of special low-shrinkage plastic, bound in aluminum and stainless steel.
Small, Light and Rugged. A truly pocket instrument, as easily carried as a steel scale.
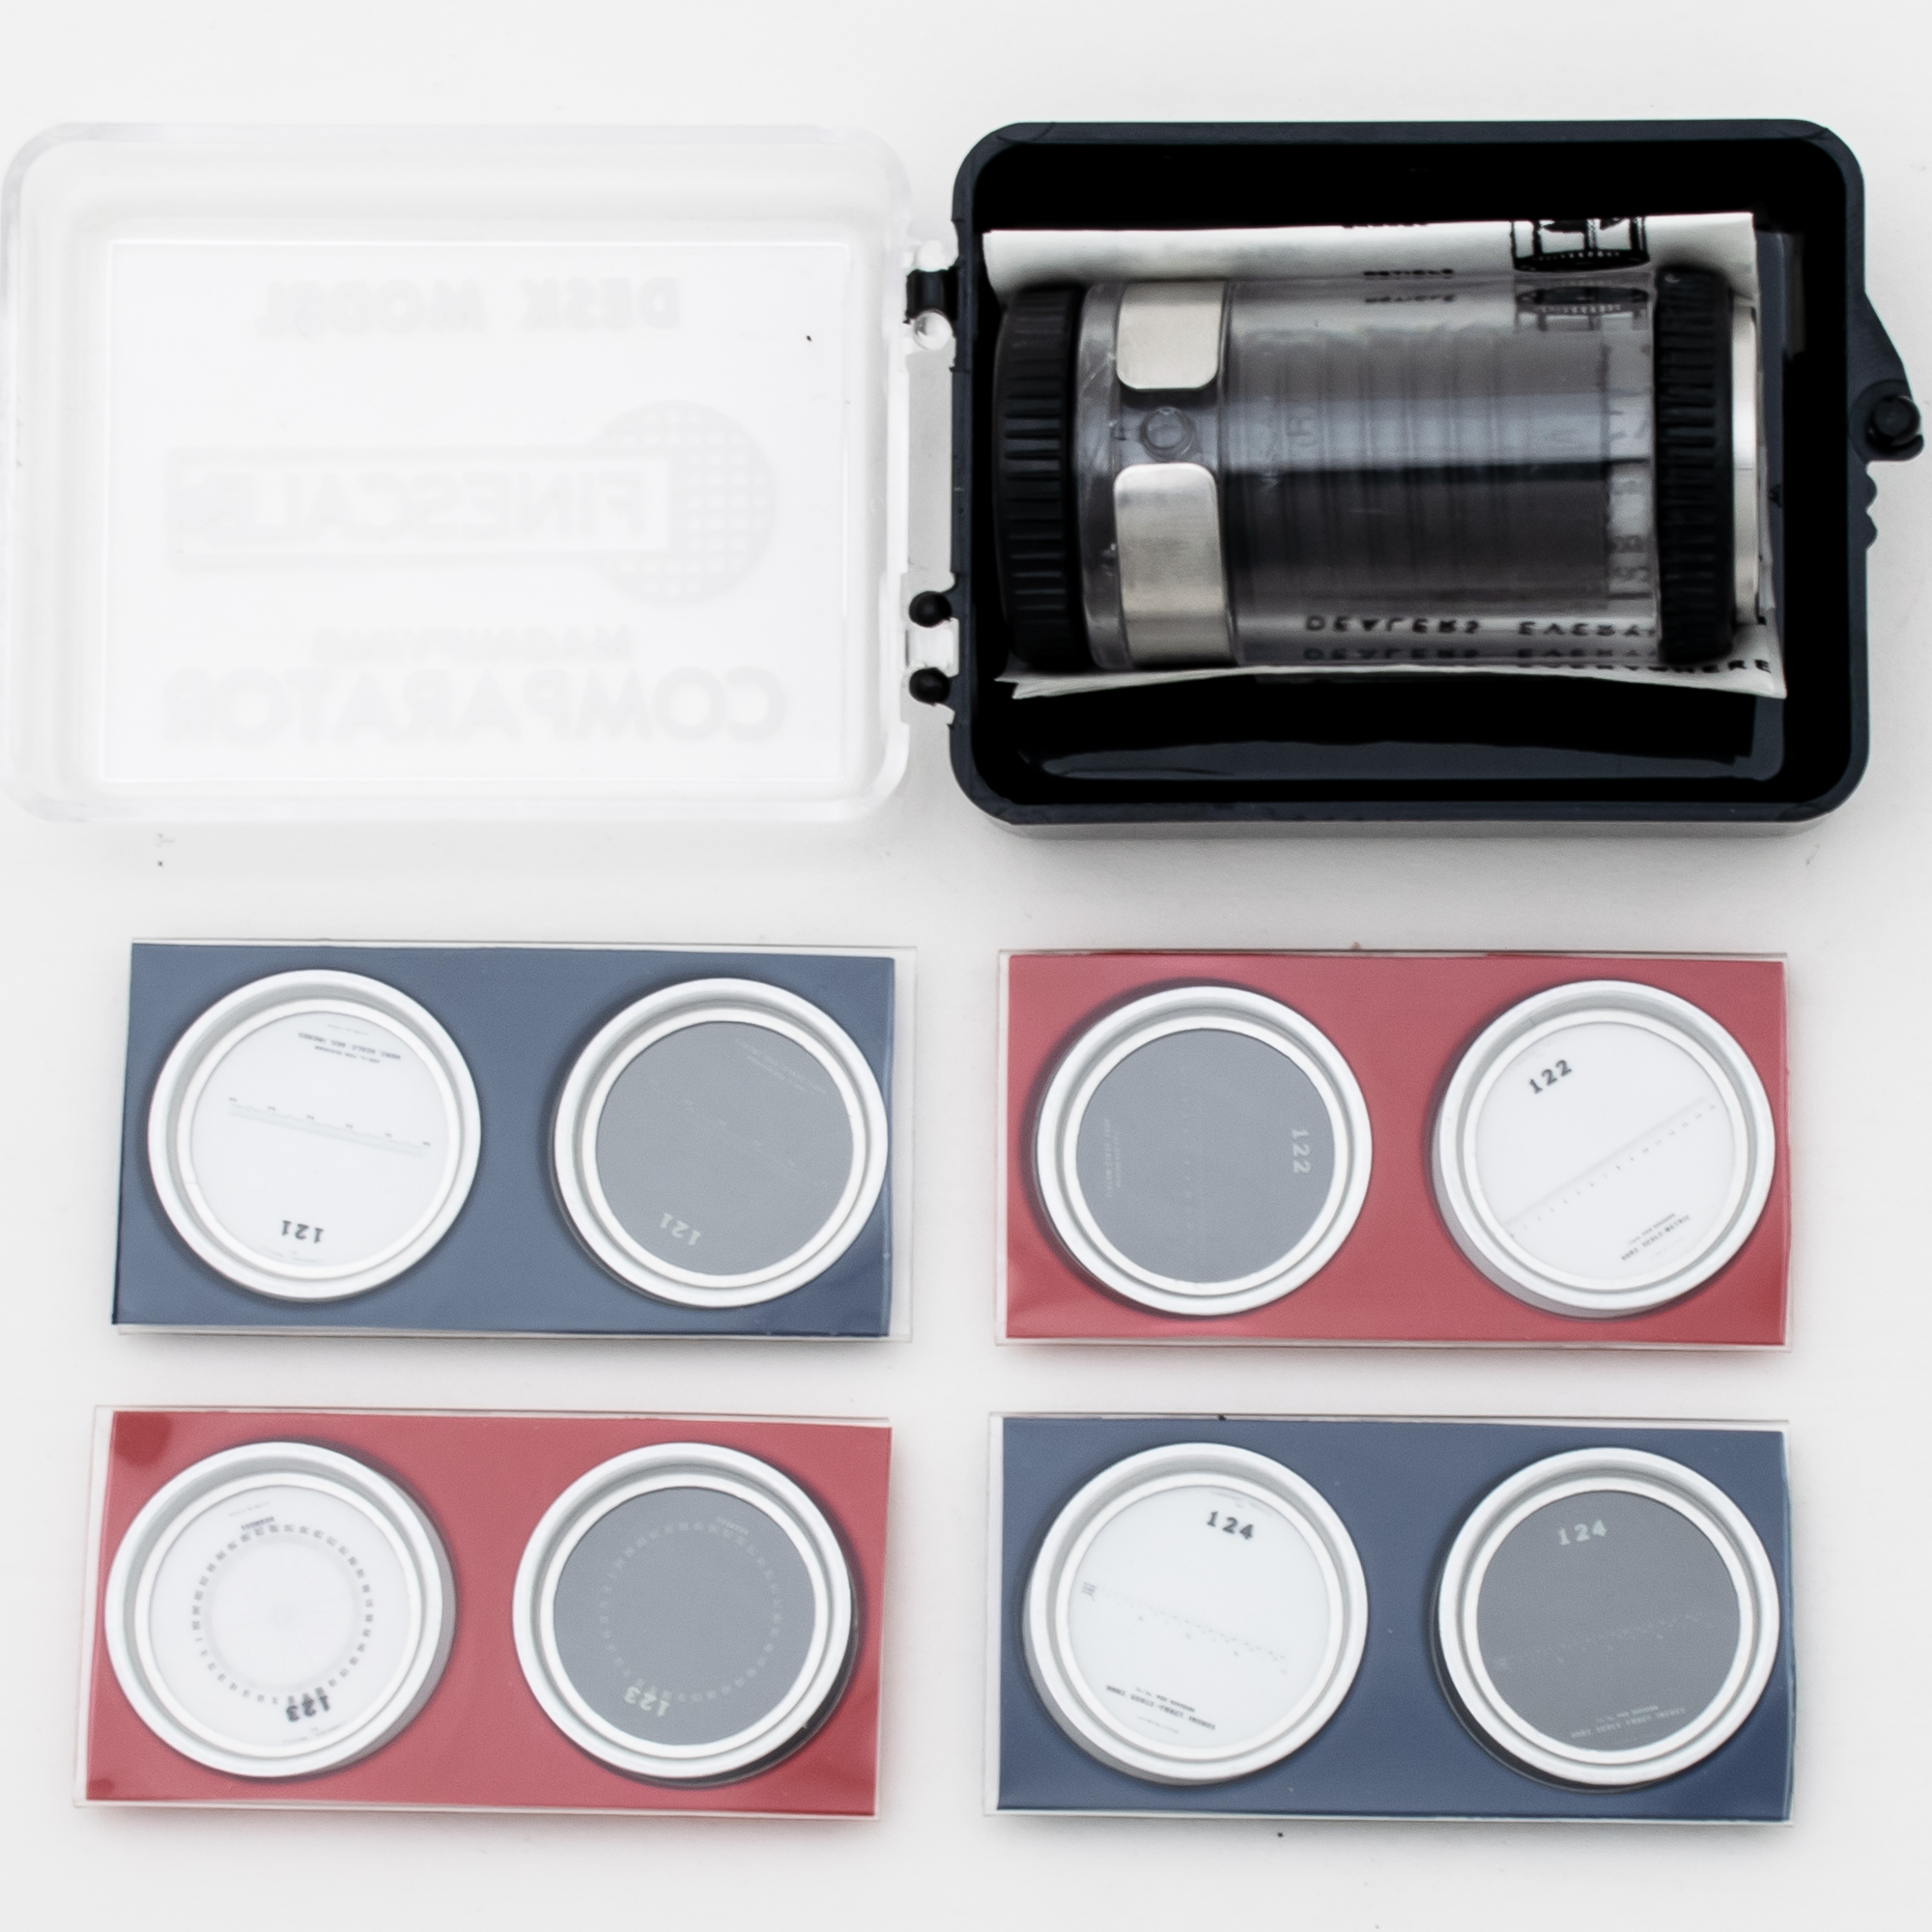
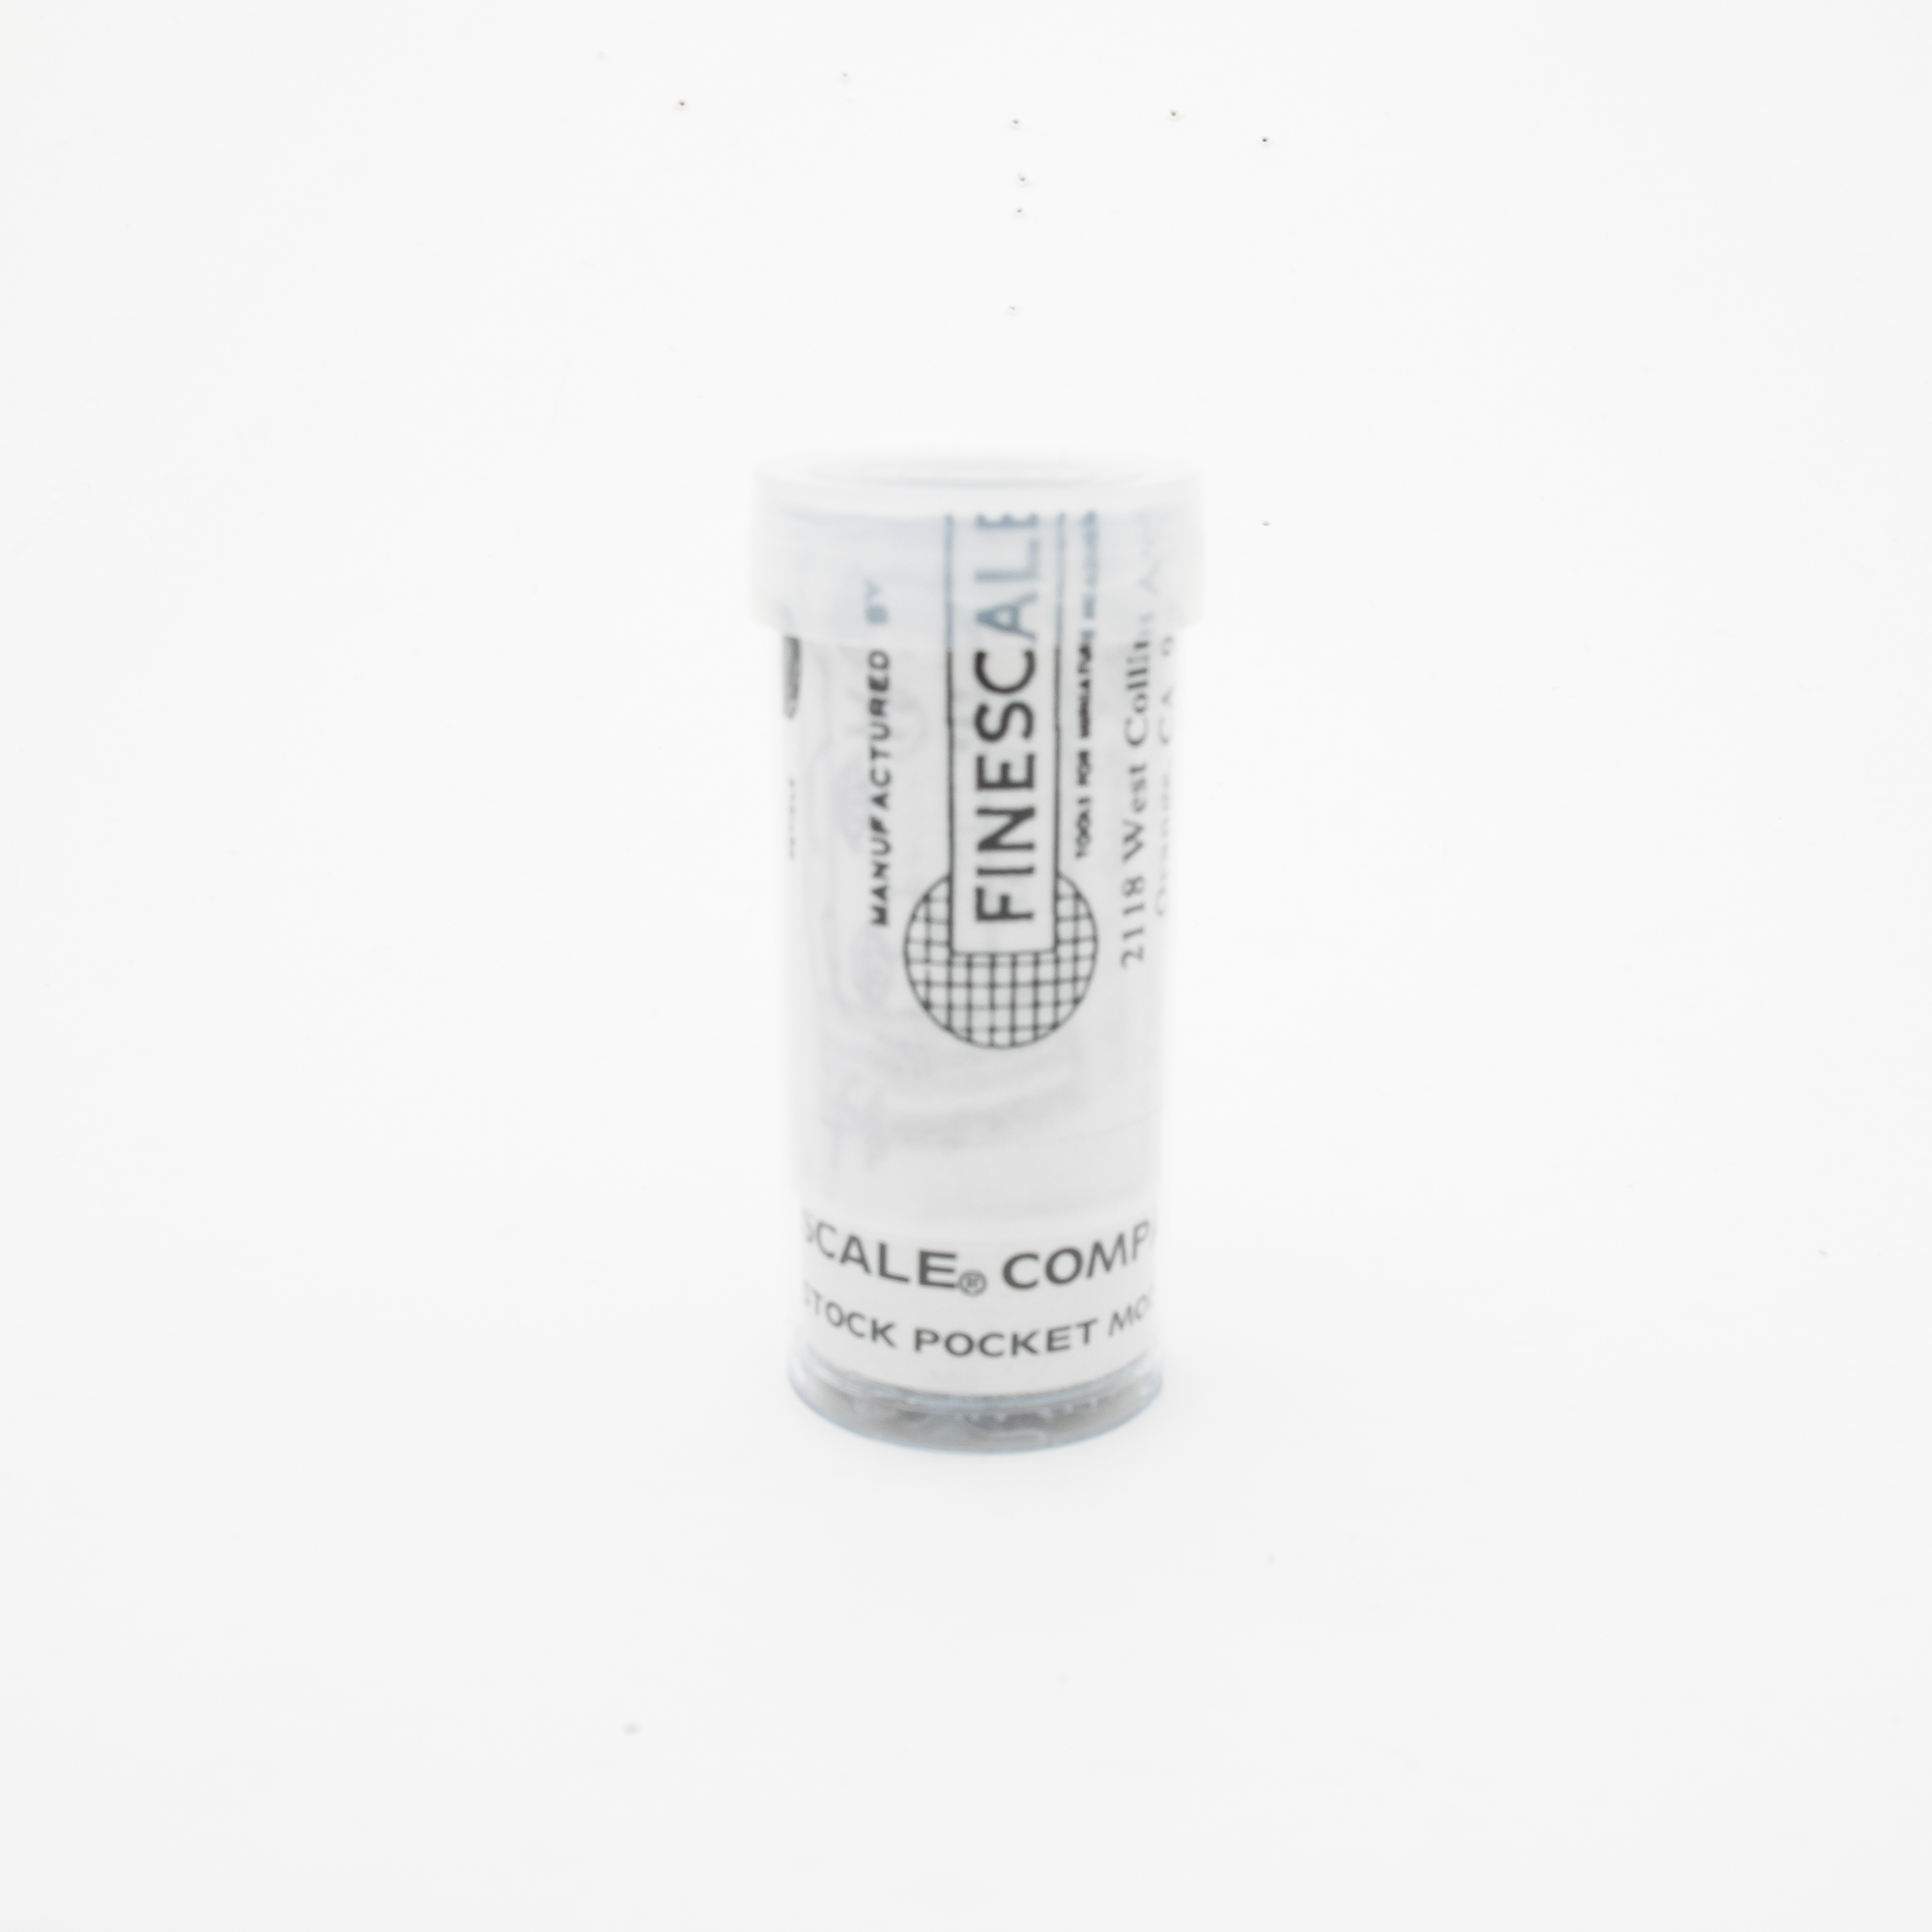
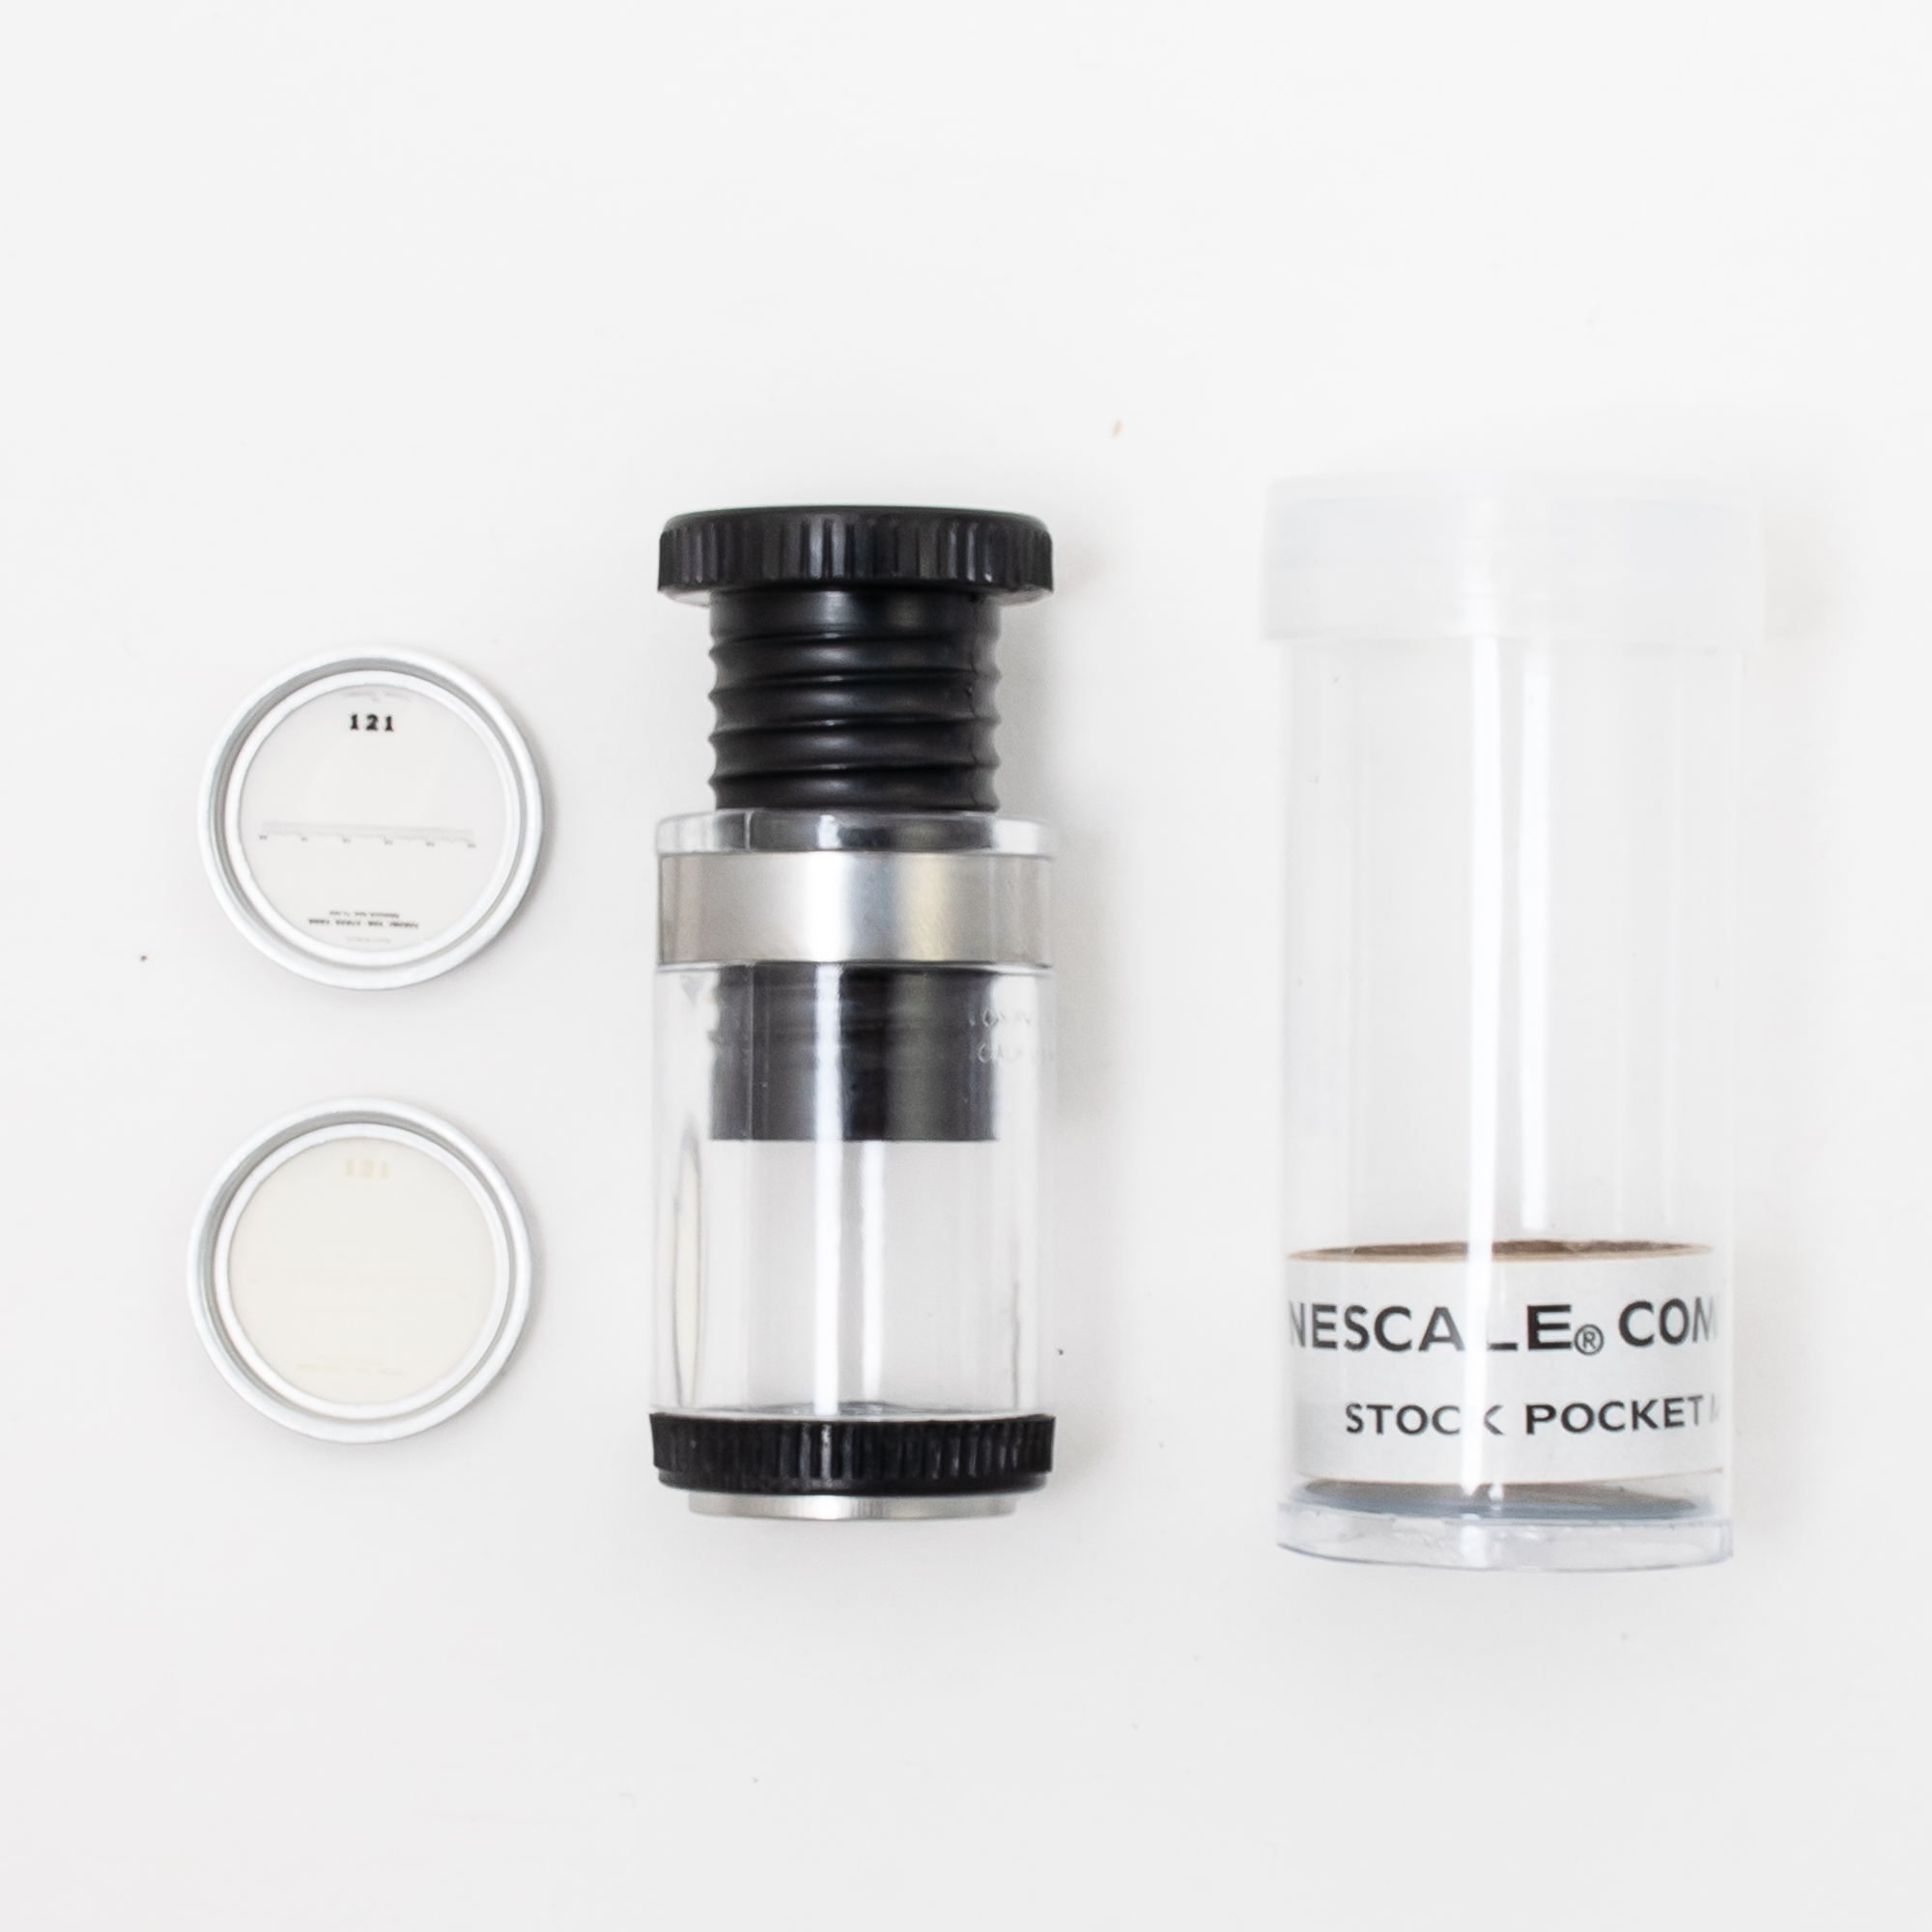
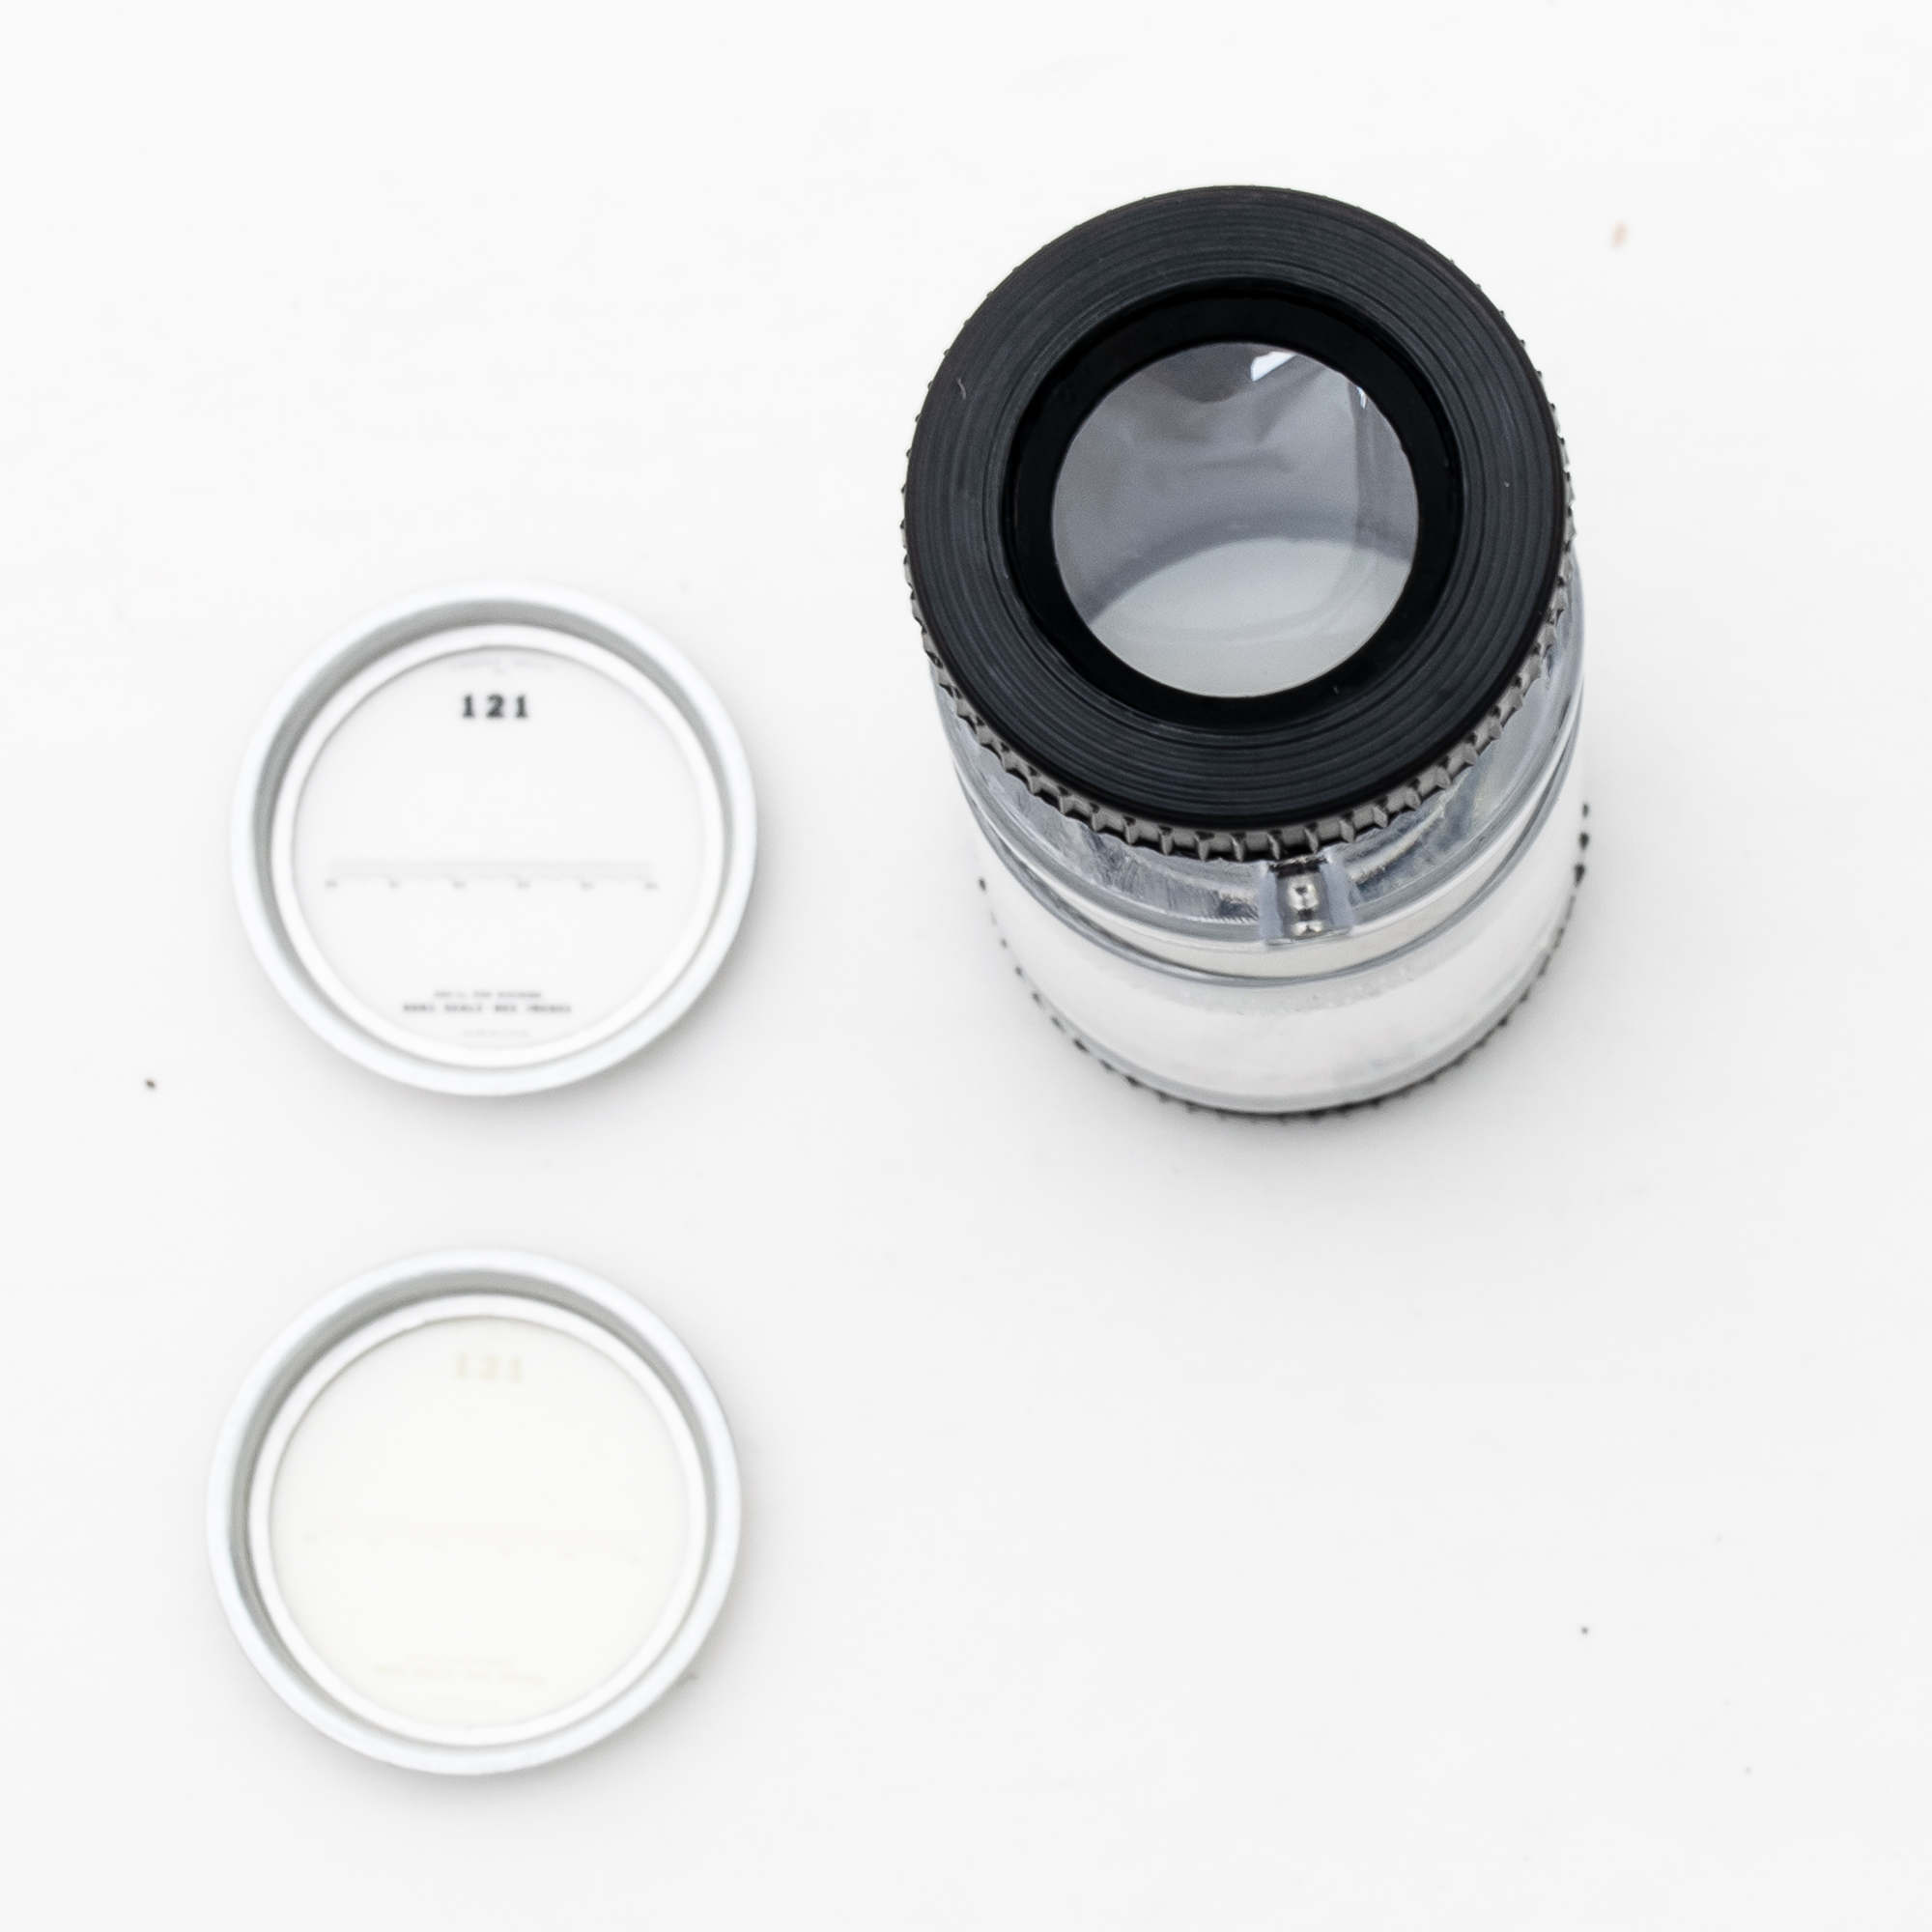
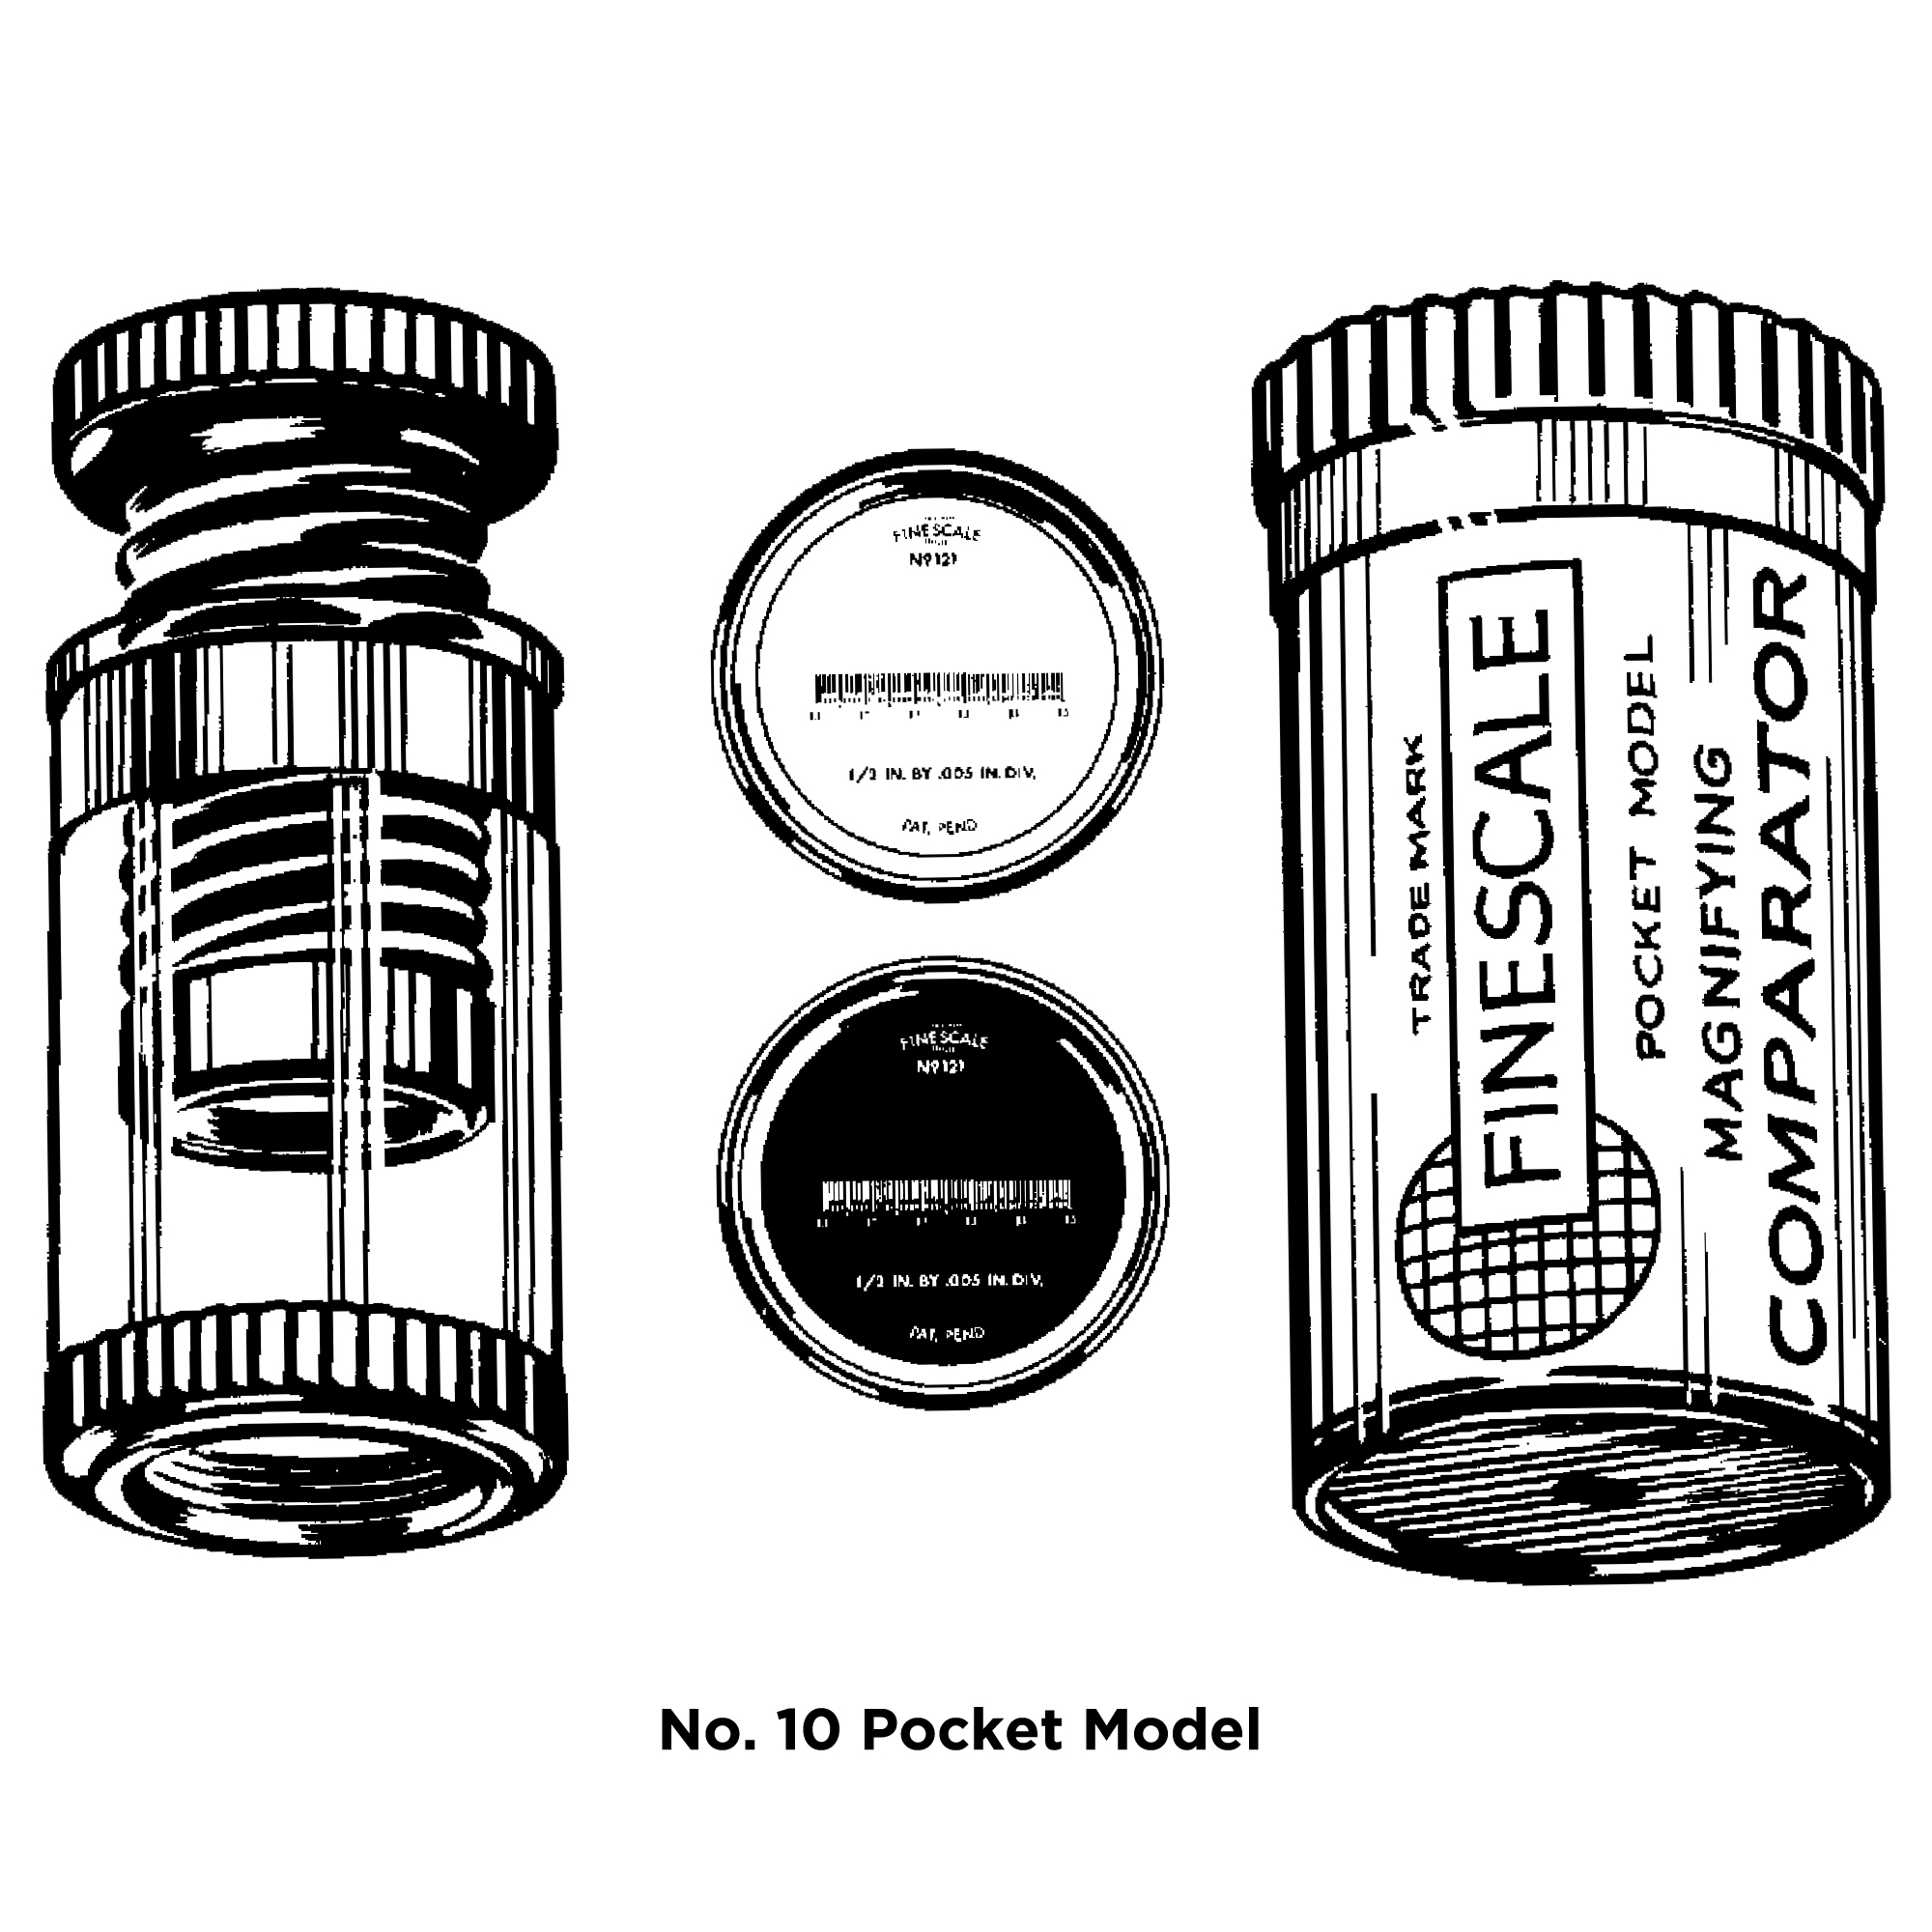
Reticles
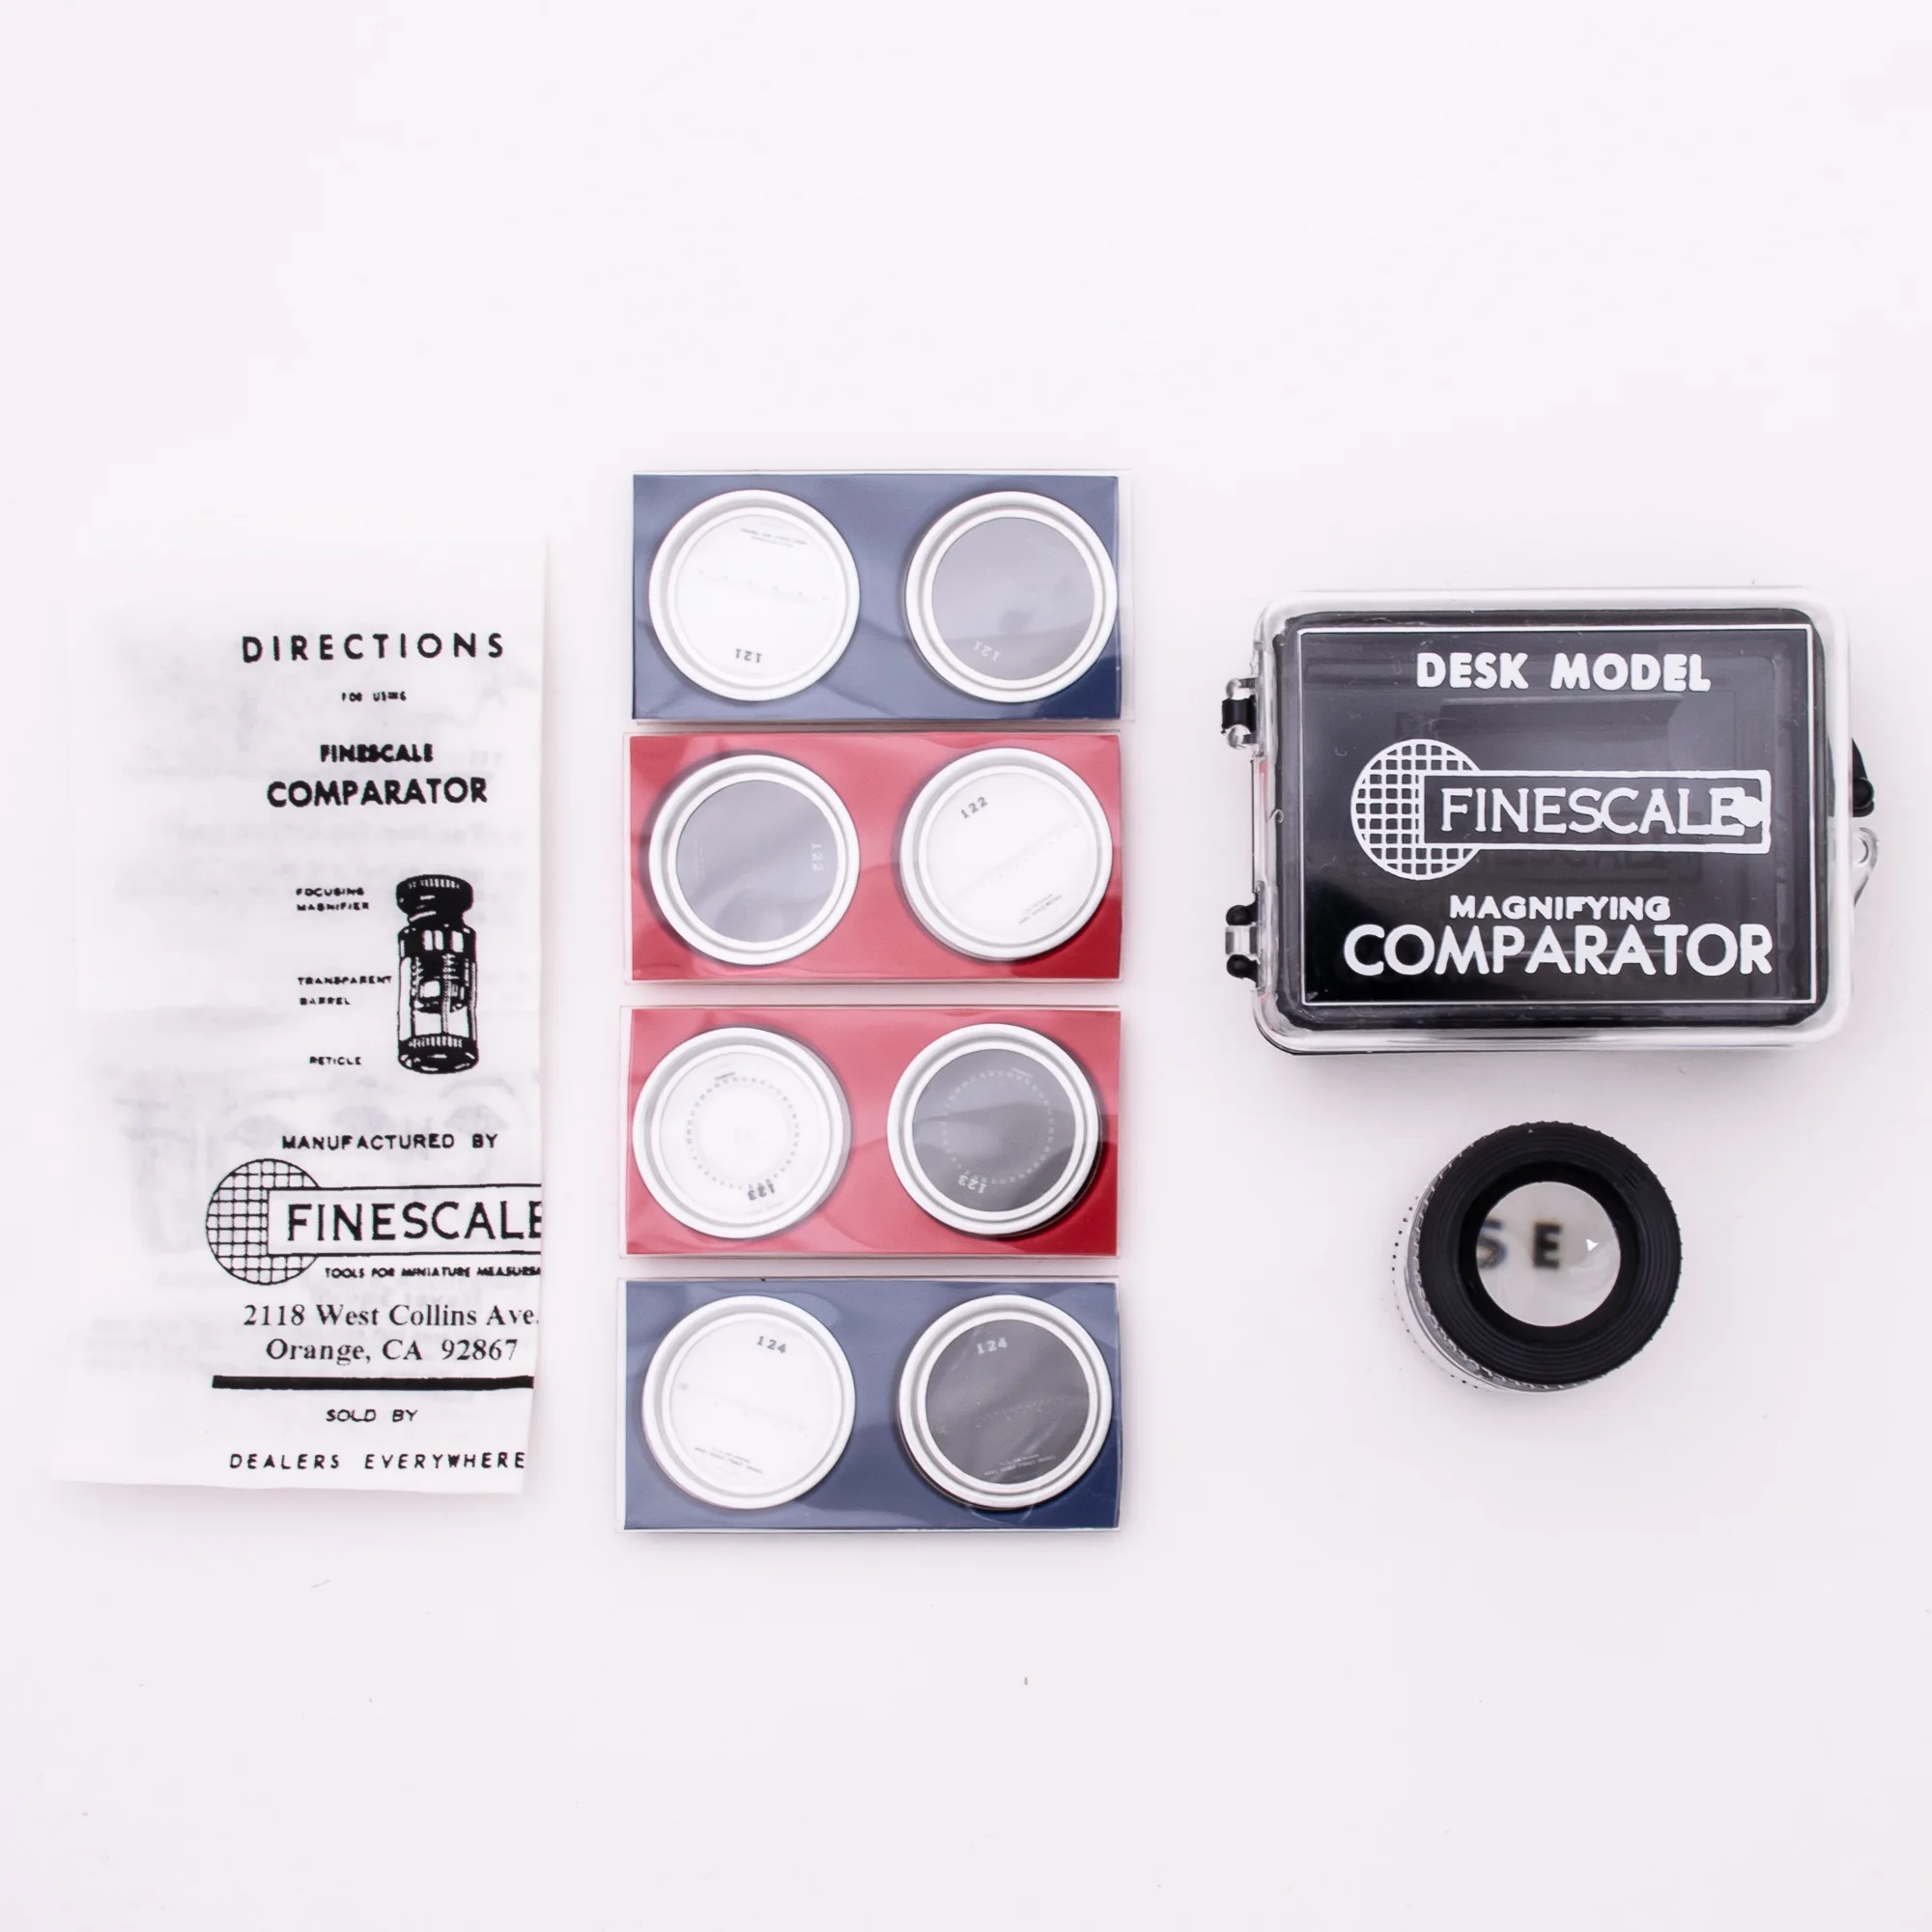
Additional RetIcLEs are supplied in pairs, one black-line and one white-line of same pattern, in protective plastic case. illustrations are enlarged and imperfect due to fineness of lines on originals.
Download ReticleS Sheet here.
Reticle 121: 1/2 in. by .005 in. Div. This is the most popular scale for mechanics, toolmakers, and engineers working with decimal measurements.
Reticle 125: Widths, Decimal inch sizes. Eighteen sizes, .001" to .050". Used in checking the width of drawn or scribed lines, slots, etc. Compare with No. 140.
Reticle 129: Counting Grid, 10 x 10mm. Used in many biological sciences, for soil analysis, spray pattern studies, etc.
Reticle 133: Radii, Fractional inch sizes. From 1/32 in. to 3/8 in. by 1/32 in. steps. See No. 139 for decimal inch sizes.
Reticle 137: Grid. .050" x .050" squares. First made for checking layouts and inspecting of electronic wiring boards (printed circuits).
Reticle 141: Circles, inch sizes. Like No. 128 except open circles. Both fractional and decimal inch sizes.
Reticle 145: Pistol Bullet Holes. Scoring gage for all N.R.A. listed sizes.
Reticle 149: Azimuth and Bearing Circle. 1.0 degree div. Preferred over No. 123 for map reading.
Reticle 153: Mag. Tape In-Line 7-14 track.
Reticle 157: Caliper, Fractional Inch Sizes. Like No. 140 but with 11 fractional inch sizes from 1/128" to 3/32" in 1/128" steps to 5/64" plus 3/32". This is a “snap gage”.
Reticle 161: Circles, Fractional Inch Sizes. Like No. 140 but includes only fractional inch size holes. 12 holes from 1/128" to 1/8" by 1/128" to 1/4" and by 1/64" to 1/8".
Reticle 165: Counting Grid, Fractional Inches. Like No. 129 and No. 137 except 1/2" by 3/8" in size with 48 squares 1/16" in size.
Reticle 169: Large Circles, Decimal Inch Sizes. Like No. 146 but with decimal inch sizes. Sizes go from .050" to .400" by .005" increments with full circles each .050" and arcs for intermediate sizes.
Reticle 173: Parallel Lines, Fractional Inch Sizes. Like No. 172 but with lines spaced every 1/64" and marked every 1/8". Total of 33 lines covering 1/2" in width.
Reticle 177: Thread Pitch, Metric Sizes. Like No. 135 but with 13 metric thread pitches from .20mm to 1.00mm. Pitches increase in .5mm increments to .5mm and by .1mm increments to 1.00mm plus .75mm.
Reticle 181: Radian Protractor. The familiar protractor divided into radians instead of degrees. There are 2π radians by .05 radian increments running counter-clockwise.
Reticle 185: Wedge Scale, Metric Sizes. Like No. 183 and No. 184 but calibrated in metric sizes. The horizontal scale reads 10mm by .1mm increments. The vertical scale is 1/10 the reading of the horizontal scale.
Reticle 189: Concentric circles, Metric. Like No. 187 and No. 188 but with metric circles 1mm dia. to 10mm dia. by 1mm increments.
Reticle 122: 15 mm by 0.1mm Div. This is the most useful scale for scientists, laboratory technicians, and others using the metric system.
Reticle 126: Crossed lines at 90°. For quickly checking the squareness of small layouts and parts.
Reticle 130: Inch scale for “H-O” Gauge Trains. For the adult train hobbyist making accurate scale models.
Reticle 134: Center Finder. For checking accuracy of centers and keyways of small shafts, layouts, etc.
Reticle 138: Index Line. First made for use in comparators which are built into special layout and measuring machines.
Reticle 142: Widths, metric sizes. Like No. 125 but with bars varying in width from 0.1mm to 2.0mm by 0.1mm increments.
Reticle 146: Large Circles, Metric. Sizes from 1.0 to 10.0mm by 0.1mm div. See No. 144 for smaller ones.
Reticle 150: Mag. Tape I.R.I.G. 7-14 track.
Reticle 154: Mag. Tape IBM 7 track.
Reticle 158: Caliper, Metric Sizes. Another “snap gage” like No. 140 and No. 157 with 13 metric sizes from .1mm to 2.0mm. Sizes are .1, .2, .3, .4, .5, .6, .8, 1.0, 1.2, 1.4, 1.6, 1.8 and 2.0mm.
Reticle 162: Crossed Scales, Decimal Inch Sizes. Crossed lines with decimal inch scales. Vertical scale is .4" long and Horizontal scale .5" long. All scales marked to .005" increments.
Reticle 166: Fine Grid, Decimal Inches. Like No. 137 but with 2000 squares .01" on a side. Overall size .4" by .5". Used for small particle counting. Accented each .05".
Reticle 170: Large Circles, Fractional Inch Sizes. Like No. 169 but with fractional inch circles from 1/16" to 3/8" by 1/64" increments. Full circles every 1/16" and arcs for intermediate sizes.
Reticle 174: Parallel Lines, Metric Sizes. Like No. 172 and No. 173 but spaced in metric increments. There are a total of 21 lines spaced .5mm apart for a total width of 10mm.
Reticle 178: Protractor. This is another special purpose reticle originally designed for use by crime laboratories for fingerprint classification. Its unique combination of angular and linear information make it useful in other fields.
Reticle 182: Angles. 13 discrete angles arranged in a circle. Angles shown are 1, 2, 3, 4, 5, 10, 15, 20, 25, 30, 45, 60 and 90 degrees. Has application where a protractor becomes difficult to read.
Reticle 186: Printers Point Rule. This scale is calibrated in printers points. It reads to 36 points by 1/2 point and can be used in place of reticle No. 131 for all measurements in this system.
Reticle 190: Squareness Check Gauge. This is a set of crossed lines at 90° with parallel lines on each side of each crossed line spaced .005" to form a plus or minus .005" tolerance for squareness checking.
Reticle 123: Degrees. A full circle protractor with 1° divisions. A generally useful scale.
Reticle 127: Holes, Fractional Inch sizes. Nine holes ranging from 1/128" to 1/8" in diameter. For checking holes, voids, flaws, etc.
Reticle 131: Printer Points. For printers, lithographers, advertising specialists, etc. in checking height and spacing of small type.
Reticle 135: Thread Pitch, NF and NC series. All threads from smallest to 20 THDS/IN in both series. See Reticle No. 132 for pitch of new NM series.
Reticle 139: Radii, Decimal inch sizes. A companion to Reticle No. 133. This one has decimal inch sizes while the other has fractional inch sizes.
Reticle 143: Drill Points. For checking the sharpening of small drills. Shows correct point angle and lip clearance for drilling various materials.
Reticle 147: Scales at right angles, .005" Div., preferred to No. 121 for some measurements.
Reticle 151: Mag. Tape I.R.I.G. 16 track digital.
Reticle 155: Mag. Tape IBM 9 track.
Reticle 159: Holes Metric Sizes. Like No. 127 and 128. It has 20 holes from .1mm to 2.0mm by .1mm steps. For checking small metric size holes.
Reticle 163: Crossed Scales, Fractional Inch Sizes. Like No. 162 but marked in 1/64" increments. Vertical scale is 3/16" long and horizontal scale 1/2" long.
Reticle 167: Fine Grid, Fractional Inches. Like No. 165 but divided into 768 squares 1/64" on a side. Overall size 3/8" by 1/2" accented each 1/16".
Reticle 171: Radii, Metric Sizes. Like No. 133 and No. 139 but in 20 metric sizes from .5mm to 10.0mm by .5mm increments.
Reticle 175: Bore Sight Target. This reticle is the familiar crossed lines, but with a .050" dia. circle in the center to form a “bore sight” or “window” at the intersection of the lines.
Reticle 179: Wire Mesh Screen. The size of the many fine mesh screens used for filters and other purposes. It has sections of 12 sizes of screen. Sizes are 35, 40, 50, 60, 80, 100, 120, 150, 200, 250, 325 and 400 mesh per inch.
Reticle 183: Wedge Scale, Decimal Inch Sizes. This scale provides a “vertical vernier” in the ratio of 10:1. The space between lines is exactly 1/10 the reading on the horizontal scale. The scale itself is .500" long by .005" increments.
Reticle 187: Concentric Circles, Decimal Inch Sizes. Similar in purpose to No. 169 but with fewer circles arranged on a common center. Sizes range from .050" to .400" by .050".
Reticle 124: 1/2 in by 64ths. Open scale and fine lines permit very accurate measurements for those preferring fractional dimensions.
Reticle 128: Holes, Decimal inch sizes. Eighteen sizes from .001" to .050". For checking holes in spray nozzles, gas jets, ball-point pens, instruments, watches, etc.
Reticle 132: Thread Pitch, NM series. For checking threads in the new “miniature” series. See Reticle No. 135 for others.
Reticle 136: .300 in. By .002 in. Div. Similar to No. 121, but with finer divisions for still more accurate measurements. By reading on the lines or between them measurements to .001" are read.
Reticle 140: Caliper, Decimal inch sizes. Somewhat similar to Reticle No. 125. as a feeler-gage and this one as a snap gage for miniature parts and dimensions.
Reticle 144: Circles, metric sizes. Open circles like No. 141 but metric sizes from 0.1 to 2.0mm dia. by 0.1mm increments.
Reticle 148: Rifle Bullet Holes. Scoring gage for all N.R.A. listed sizes.
Reticle 152: Mag. Tape I.R.I.G. 31 track digital.
Reticle 156: Widths, Fractional Inch Sizes. Like No. 125 and No. 142 but with 12 fractional inch bars from 1/128" to 3/32" by 1/128" divisions.
Reticle 160: Circles, Decimal Inch Sizes. Like No. 140 but includes only decimal inch size holes. 17 holes from .002" to .050" by .001" steps to .010" and by .005" to .050".
Reticle 164: Crossed Scales, Metric Sizes. Crossed lines with metric scales. Vertical scale is 10mm long and horizontal scale is 14mm long. All scales marked to .1mm.
Reticle 168: Fine Grid, Metric. Like No. 129 but divided into 2500 squares .2mm on a side. Overall size 10mm by 10mm accented each mm.
Reticle 172: Parallel Lines, Decimal Inch Sizes. Parallel lines spaced .01" apart and marked each 1". This is like the counting grids without the horizontal lines. Total of 51 lines covering .5" width.
Reticle 176: L & N Strip Chart Scale. For measuring L & N strip chart recorder information. Axial scale is compressed 5% in true measure to accommodate 9.5" scale travel. The “width” scale is true measure.
Reticle 180: Runout Indicator. We call this a “Runout Indicator” since it was first used to check drill runout on flat layouts. It consists of two crossed lines at 90° with three concentric circles .050, .200 and .400 inches in diameter.
Reticle 184: Wedge Scale, Fractional Inch Sizes. Like No. 183 but calibrated in fractional inch sizes. The horizontal scale reads 1/2" by 1/64" increments. The vertical height is 1/10 the reading of the horizontal scale.
Reticle 188: Concentric Circles, Fractional Inch Sizes. Like No. 187 but with fractional inch circles 1/16" dia. to 3/8" dia. by 1/16" increments.


